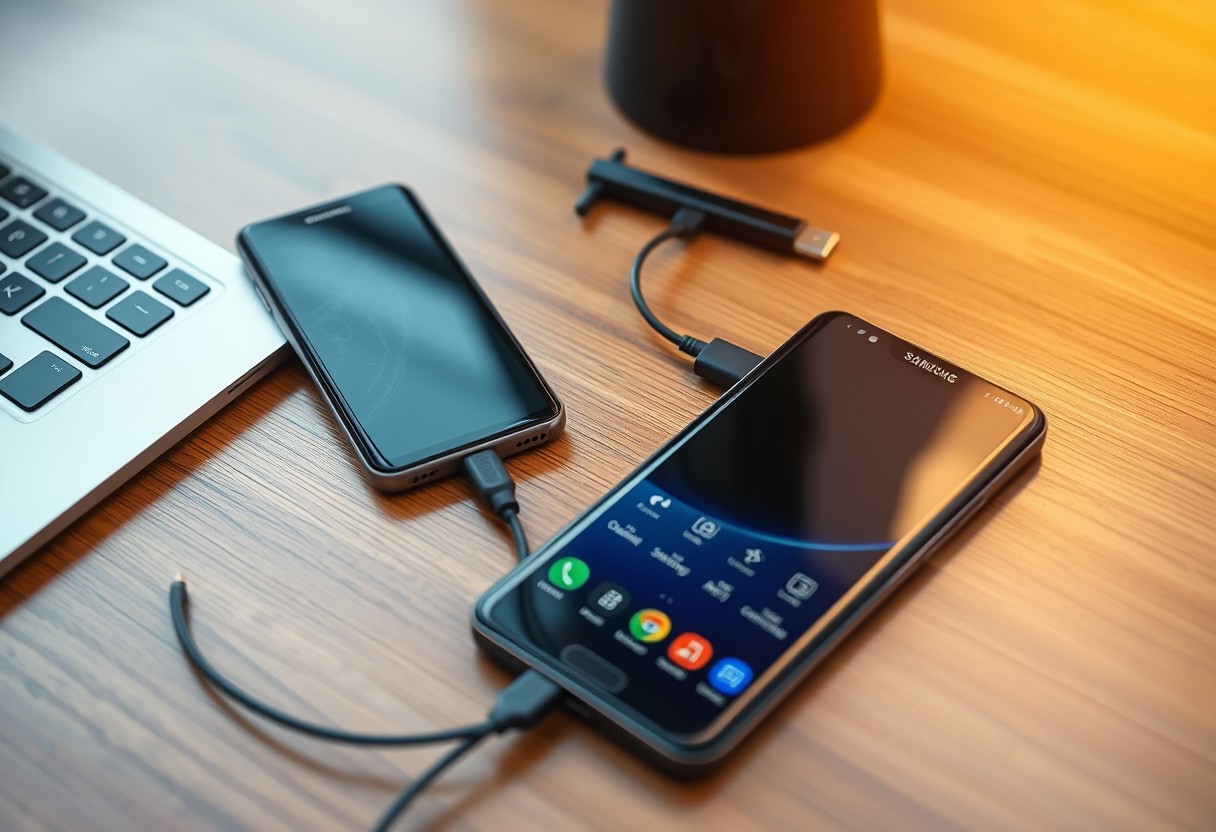
You can transfer every essential setting, app preference, and personal customization from your old Galaxy phone to your new one-without data loss-by using the right tools and approach. Samsung Smart Switch makes the process reliable, but skipping key steps may result in missing data or broken app configurations. Follow this guide to ensure a complete, accurate transfer every time.
Key Takeaways:
- Use Samsung Smart Switch to transfer apps, settings, and personal data between Galaxy devices with minimal effort-this built-in tool supports both wired and wireless transfers, ensuring most configurations move intact.
- Back up your old Galaxy phone to Samsung Cloud or Google Account before initiating the transfer, especially for critical items like messages, call logs, and Wi-Fi passwords, which may not always carry over automatically.
- After the transfer, manually verify system personalizations such as wallpaper, display settings, and app layout, as some customizations may reset and require reapplication on the new device.
Evaluating Key Migration Factors
Before initiating your device transfer, assessing storage capacity and battery health is essential to prevent interruptions. Your old Galaxy phone must have enough free space to generate a complete backup, while the new device needs sufficient room to receive it. A low battery can halt the process unexpectedly, so ensure both phones are charged to at least 80%. Check storage under Settings > Storage and review battery health in Battery Usage to confirm optimal performance.
- Storage capacity on both devices must accommodate the full data transfer
- Battery level should exceed 80% to avoid shutdowns during migration
- Data types like photos, apps, and messages affect total storage needs
- Battery health degradation may impact transfer reliability on older models
Assessing Storage Capacity and Battery Health
Storage limitations can silently block a successful transfer, even if your phone appears to have enough space. System files and cached data often consume more than expected, leaving insufficient room for backup creation. You should manually clear unnecessary downloads or offload large media files before proceeding. At the same time, inspect your battery’s current condition-devices with swollen or degraded batteries may not sustain long processes. A stable power source combined with verified storage headroom ensures no mid-transfer failures occur.
Determining the Best Connection Method
Your choice between wired, wireless, or cloud-based transfer affects speed and reliability. A USB-C cable offers the fastest and most stable connection, minimizing the risk of disconnection. Wireless methods provide convenience but require strong Wi-Fi and consistent proximity between devices. If you’re moving a large amount of data, a direct cable link reduces dependency on network stability. For best results, use Samsung’s original cable to maintain optimal transfer speeds and avoid compatibility issues that third-party cables may introduce.
How-to Prepare Your Old Galaxy Device
Begin by securing your data through a complete Samsung Cloud backup to prevent irreversible loss during the transfer. This step ensures your contacts, messages, app data, and settings are safely stored online. Skipping this backup could result in permanent data loss if the device malfunctions before migration. Connect to a stable Wi-Fi network and allow sufficient time for the upload to complete. Verify that all essential content appears in your Samsung account under the backup history.
Performing a Preliminary Samsung Cloud Backup
Open the Settings app and navigate to your Samsung account or the Samsung Cloud section. Tap “Backup data” and review the items selected-ensure apps, call history, and device settings are included. Initiate the backup and wait for confirmation that it completed successfully. A green checkmark indicates your data is secure and ready for the next phase. Do not power off the phone during this process to avoid corruption.
Updating Firmware and Essential System Apps
Check for system updates by going to Software Update in Settings and install any available firmware. An updated operating system improves compatibility and reduces transfer errors. Simultaneously, open the Galaxy Store and update core apps like Samsung Messages, Contacts, and Clock. Running outdated software may disrupt data synchronization and cause missing elements on your new device. Reboot your phone after updates to ensure changes take effect.
How-to Execute the Samsung Smart Switch Process
Initiating the Wired or Wireless Connection
You begin the transfer by launching Smart Switch on both your old and new Galaxy phones. Choose Send data on the old device and Receive data on the new one. The app supports both wireless and USB cable connections-using a cable delivers faster speeds and more stable performance, especially for large transfers. When connecting wirelessly, ensure both devices are on the same Wi-Fi network to prevent interruptions. A strong signal is essential to avoid mid-transfer failures.
Selecting Data, Apps, and Settings for Transfer
Your next step involves reviewing what moves from the old phone to the new one. Smart Switch displays checkboxes for categories like contacts, messages, photos, apps, and account logins. You retain full control-uncheck items you don’t want transferred. Note that some apps may not carry over due to compatibility or security restrictions. Selecting everything ensures a complete migration, but be mindful of storage limits on the new device before confirming.
Essential Tips for Preserving System Personalization
To retain your unique interface and access credentials during a Galaxy-to-Galaxy transfer, focus on restoring personalized layouts and saved connections. Smart Switch can carry over home screen arrangements, app folders, and default wallpapers, but only if you select the correct backup profile. Ensure your Samsung account syncs these settings before initiating the move. Your saved passwords for Wi-Fi networks and paired devices are also recoverable through encrypted cloud or local transfer-enable sync in Autofill settings to avoid login disruptions.
- Maintain your custom home screen layout with app placements and widgets
- Preserve system-level themes and display preferences via Samsung Cloud
- Restore Wi-Fi credentials automatically when connected to known networks
- Re-establish Bluetooth pairings without manual re-pairing steps
- Ensure Autofill service is enabled to retrieve stored passwords
Migrating Home Screen Layouts and Wallpapers
Your home screen reflects how you interact with your phone daily, so maintaining its structure saves time and frustration. When using Smart Switch, choose the option to transfer home screen layout to replicate app positions, widget placement, and folder groupings exactly as they were. Confirm that your wallpaper-whether a custom image or Samsung’s default gallery pick-is included in the transfer by checking the media sync settings beforehand. This ensures your new device feels instantly familiar upon first unlock.
Restoring Wi-Fi Passwords and Bluetooth Pairings
You expect your phone to connect seamlessly to your home network and car system, and modern Samsung transfers support this continuity. During setup, allow the system to import saved Wi-Fi passwords from your old device so you won’t need to re-enter complex keys. Similarly, Bluetooth pairings with headphones, watches, and speakers can be restored automatically if the original device was synced through your Samsung account. Keep both devices powered and within range during migration to prevent dropouts in credential transfer.
Post-Transfer Optimization Tips
After completing the transfer, systematically verify that all data and settings have moved correctly by opening each core application and confirming functionality. Launch messaging, email, and calendar apps to ensure synchronization is active and recent conversations or appointments appear. Test connectivity features like Wi-Fi auto-fill and Bluetooth pairings to confirm system-level settings transferred successfully. Failure to validate these functions early may result in unexpected disruptions, so thorough testing ensures a fully operational new device.
- Your Wi-Fi passwords should reconnect automatically
- Contact groups and call logs must display accurately
- Custom keyboard shortcuts and input preferences need to persist
- App-specific settings for notifications and dark mode should remain intact
- The Samsung Notes app must reflect all saved entries without duplication
Auditing Transferred Media and Documents
Open your Gallery and My Files apps to confirm every photo, video, and document appears as expected. Scroll through albums chronologically to spot missing batches, especially from cloud-synced folders like Google Photos or Dropbox. Check file integrity by playing videos and opening PDFs or office documents directly on the device. Gaps in media libraries often stem from incomplete Smart Switch selections, so catching omissions now prevents irreversible data loss later during old device disposal.
Re-authenticating Security and Banking Applications
You must log back into banking, cryptocurrency, and authentication apps due to security protocols that invalidate sessions after device changes. Open each financial app individually and follow the re-login prompts, which may include SMS verification or biometric setup. Skipping this step leaves accounts inaccessible and increases fraud risk. Re-registering your fingerprint or face unlock within these apps restores full protection and ensures transaction approvals function properly on the new hardware.
Factors for Decommissioning the Old Phone
Before letting go of your old Galaxy device, ensure all personal data is securely erased and accounts are properly disassociated. Failure to remove linked accounts can block future activation or lead to remote lock issues. Confirm your phone is backed up, then review these final steps to avoid unintended data exposure. For guidance on pairing your new Samsung with existing services, check this community discussion: Just got a new Samsung phone, how do I transfer …. Key actions include:
- Disabling Factory Reset Protection (FRP) by signing out of Google and Samsung accounts
- Revoking access from trusted devices and saved passwords
- Confirming no active Find My Mobile locks remain active
- Removing SIM cards and microSD storage
Removing Google and Samsung Accounts
Start by signing out of your Google and Samsung accounts to prevent activation locks on future users. Go to Settings, then Accounts, and manually remove each account-don’t assume a factory reset does this automatically. Leaving accounts signed in risks full access to your emails, contacts, and cloud backups. Samsung’s Find My Mobile service must also reflect the device as inactive. Completing this step ensures the next owner can activate the phone without interference from your credentials.
Executing a Secure Factory Data Reset
Perform the reset only after all accounts are removed to avoid FRP traps. Navigate to Settings > General Management > Reset > Factory data reset, then confirm. The process erases apps, messages, photos, and system settings. Your data isn’t truly gone until overwritten, so consider using a data-wiping app beforehand if selling or recycling. Wait for the full reboot cycle to complete-interruptions may leave recoverable fragments. This final wipe restores the device to its original state, ready for safe handover.

Summing up
You now have a clear path to transfer from your old Galaxy phone to a new one without losing essential settings. By using Samsung Smart Switch, backing up personalizations, and verifying data post-transfer, you ensure a smooth transition. Your apps, accounts, and preferences move securely and efficiently. Taking time to prepare both devices and confirm the transfer’s success protects your digital routine. With these steps completed, your new Galaxy device functions exactly how you need it to, right from the start.
FAQ
Q: What is the best way to transfer data from an old Galaxy phone to a new one?
A: Samsung Smart Switch is the most reliable method for moving data between Galaxy devices. The app comes preinstalled on most Samsung phones and supports wireless transfers over Wi-Fi Direct or via a USB cable. It moves contacts, messages, photos, call logs, app data, and device settings. For the fastest and most stable connection, use the cable method, especially when transferring large volumes of media or app data.
Q: Can I transfer my apps and their data using Smart Switch?
A: Yes, Smart Switch transfers both installed apps and their associated data, including login states, game progress, and preferences. Not all third-party apps support full data migration due to developer restrictions, but most major apps like WhatsApp, Facebook, and banking apps transfer successfully. After the transfer, check each app to ensure data integrity and log in again if prompted.
Q: What should I do if Smart Switch fails to complete the transfer?
A: If Smart Switch stops or freezes during the process, first ensure both phones have at least 50% battery and are connected to the same Wi-Fi network when using wireless mode. Restart both devices and try again. For cable transfers, use the original USB-C to USB-C cable or the Smart Switch USB adapter. If issues persist, update Smart Switch from the Galaxy Store or Google Play and verify that the old phone allows app installations from unknown sources if prompted.
Q: Will my Wi-Fi passwords and Bluetooth pairings move to the new phone?
A: Yes, Smart Switch transfers saved Wi-Fi networks and passwords, as well as paired Bluetooth devices like headphones, smartwatches, and car systems. After the transfer, your new Galaxy phone will automatically reconnect to known networks and devices. This only works if the old phone was signed in to a Samsung account and Bluetooth was enabled during the transfer process.
Q: Do I need to back up my old phone before using Smart Switch?
A: While Smart Switch acts as a real-time transfer tool, backing up your old phone to Samsung Cloud or Google provides an extra layer of protection. If the transfer fails or data goes missing, you can restore from the cloud. Enable backup on your old device under Settings > Accounts and backup > Samsung Cloud or Google, ensuring photos, contacts, and messages are included before starting the migration.