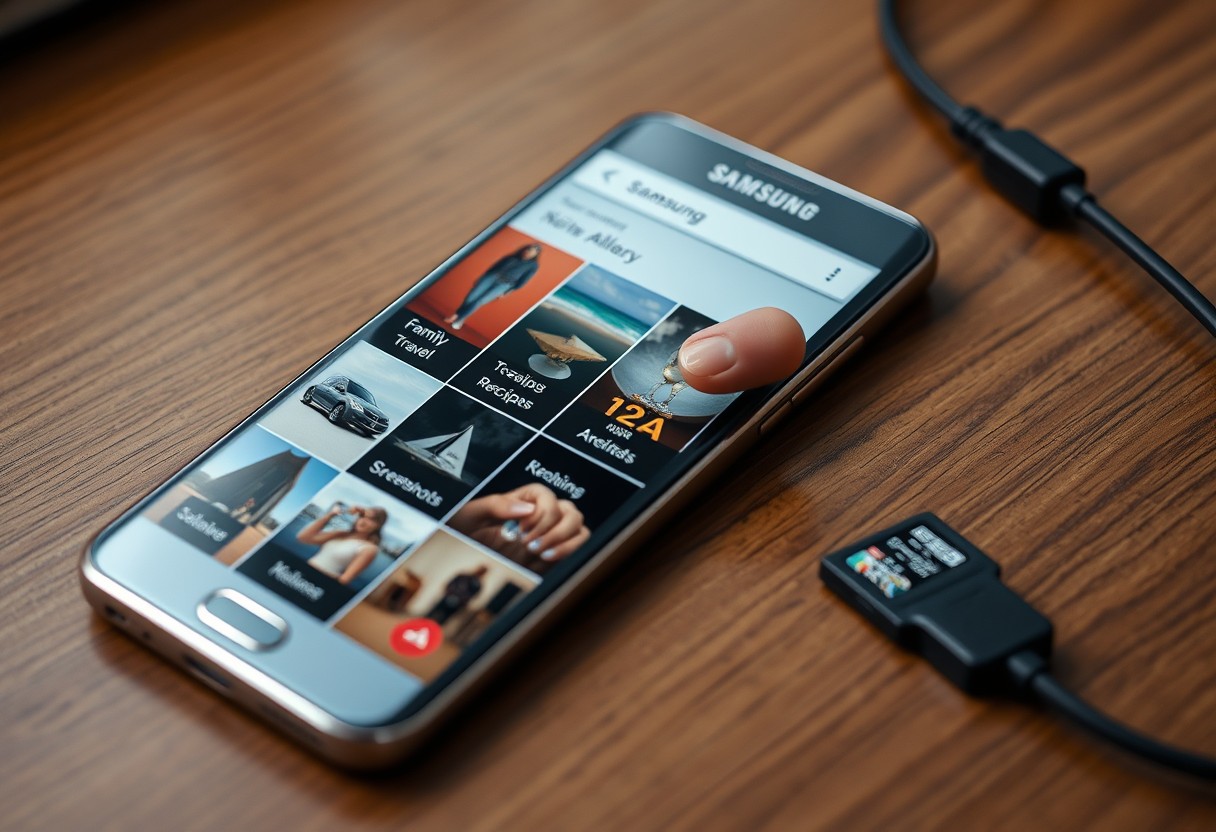
You’ve taken hundreds of photos, but now scrolling through your gallery feels overwhelming. Without a clear system, your memories can vanish into digital chaos. This guide shows you exactly how to sort, categorize, and store images so you never lose an important moment again. The right steps now prevent frustration later.
Key Takeaways:
- Sort photos regularly into custom albums by events, people, or dates to prevent clutter and make retrieval faster.
- Use Samsung Gallery’s built-in tools like Smart Search and AI-powered suggestions to quickly locate specific images without manual browsing.
- Back up photos to cloud services like Google Photos or OneDrive to free up device space while keeping files accessible and safe.
Identifying Key Factors for Photo Clutter
Digital clutter on your Samsung Galaxy often stems from unmanaged habits and unchecked storage growth. You accumulate files daily without realizing how quickly they pile up, leading to a disorganized gallery. Understanding the types of digital waste helps you prioritize what to keep, delete, or archive. Common offenders include outdated screenshots, duplicate images, and burst mode sequences. These elements consume valuable storage space and make finding important photos frustrating. Recognizing these patterns allows you to take control before clutter becomes overwhelming and impacts device performance.
Distinguishing between screenshots and camera shots
Your Samsung Galaxy stores screenshots and camera photos in the same gallery view, making it easy to mix functional images with meaningful memories. Screenshots typically serve temporary purposes-confirmations, receipts, or notes-and rarely need long-term storage. Camera shots, on the other hand, often capture personal moments worth preserving. Sorting these by type helps reduce visual noise in your gallery. Use the file type filter or check image metadata to quickly identify and isolate screenshots for batch review and deletion.
Recognizing duplicate and burst sequences
You likely have multiple copies of the same image from auto-sync errors, app backups, or repeated downloads. Burst mode also generates near-identical frames, leaving you with dozens of similar shots from one moment. These duplicate files silently eat up storage and complicate searches. Previewing thumbnails in sequence helps spot repeats quickly. Deleting redundant images and keeping only the best from each burst set reduces clutter and improves gallery clarity without losing content quality.
Evaluating storage capacity constraints
Your device’s storage limit directly affects how efficiently your phone manages photos. When internal memory nears full, performance slows and automatic backups may fail. Check your available space regularly in the Settings > Storage menu to stay ahead of overflow. High-resolution photos and videos consume the most space, so identifying large files early prevents sudden storage crises. Moving older content to cloud services or external drives frees up room and keeps your Galaxy running smoothly.

Creating and Managing Albums Efficiently
Organizing your photos into clearly defined albums prevents visual overload and makes retrieval fast. You can group images by events, people, trips, or projects, keeping your main gallery uncluttered and focused. The real benefit comes when you consistently assign new photos to the right album immediately after capture. Avoid generic names like “Misc” – instead, use specific labels so you can locate content without scrolling endlessly. A clean album structure gives you direct control over how your memories are stored and accessed.
How to move photos into custom albums
Selecting individual or multiple photos in your Gallery app lets you assign them to a custom album in seconds. Tap and hold a photo, choose others if needed, then tap the folder icon and select “Move to album.” You can create a new one on the spot or pick an existing category. This action removes them from the main feed, reducing clutter. Moving files this way ensures only relevant content appears where it should, giving you immediate visual relief and better long-term organization.
Renaming and hiding sensitive folders
You have full control over folder names and visibility in the Samsung Gallery. To rename, go to Albums, press and hold the album title, then select “Rename” and type a clearer label. For private content like personal documents or intimate moments, use the “Hide” option found in the album’s menu. Hidden folders disappear from view unless you enable “Show hidden albums” in settings. This feature offers essential privacy without requiring third-party apps or complex workarounds.
Utilizing the Favorites feature for quick access
Marking key photos as favorites streamlines access to your most meaningful images. Tap the heart icon on any photo to add it to the Favorites album, which automatically collects all tagged items in one place. This is especially useful for frequently shared pictures of family, pets, or important IDs stored as images. The Favorites tab becomes a personalized highlight reel, cutting through noise and delivering what matters most with a single tap.
Leveraging OneDrive and Google Photos Integration
Your Samsung Galaxy can automatically back up every photo to the cloud, ensuring they remain safe even if your device is lost or damaged. Services like Google Photos and OneDrive offer seamless background syncing so your memories are preserved without manual effort. Once enabled, uploads happen over Wi-Fi, minimizing data use. With originals stored securely online, you can later remove them from the phone to reclaim valuable storage space. This continuous protection keeps your collection intact while reducing the risk of permanent loss.
How to sync Samsung Gallery with cloud services
Open the Samsung Gallery app and tap your profile icon to access backup settings. Choose either Google Photos or OneDrive and sign in to your account. Toggle on “Back up & sync” to activate automatic uploads of all new photos and videos. You can adjust upload quality and network preferences to suit your data plan. Once enabled, every image you capture will be mirrored in the cloud within moments, giving you peace of mind and consistent access across devices.
Freeing up device space with the “Delete from device” tool
After your photos are safely backed up, use the “Delete from device” option to remove local copies and recover storage. This feature appears automatically in the Gallery after successful cloud uploads. Tap it to clear full-resolution images while keeping thumbnails for preview. Doing so can free several gigabytes, especially on devices with limited internal memory. The process is reversible only if backups are intact, so confirm sync completion before proceeding.
Factors to consider when choosing a backup provider
Different cloud services offer varying benefits in storage limits, pricing, and photo quality retention. Google Photos provides high-quality unlimited backups for some account tiers, while OneDrive integrates well with Microsoft ecosystems and offers document syncing. Free plans often cap storage at 5-15 GB, which may fill quickly with high-resolution photos. Consider whether you want original quality preservation, cross-platform access, and how much you’re willing to pay monthly. Security practices and ease of retrieval also play a key role in long-term reliability.
- Choose Google Photos for strong AI search and broad device compatibility
- Select OneDrive if you frequently use Windows or Office apps
- Check upload quality settings-original vs. high-quality compression
- Review storage limits and subscription costs for long-term use
- Ensure encryption and two-factor authentication are supported
Tips for Using Samsung’s Smart Search and AI Tools
Samsung’s built-in AI tools make finding photos faster and more intuitive than ever. Instead of scrolling endlessly through your gallery, you can instantly locate images using natural language searches. The system learns from your behavior and photo content to deliver accurate results in seconds. With Smart Search, you can pull up specific moments by describing what’s in them, even without prior tagging. This level of AI-powered retrieval transforms how you interact with your personal memories, turning chaotic collections into easily accessible visual stories.
Searching by face, location, and object tags
You can quickly find photos by typing descriptors directly into the search bar, such as a person’s name, a place, or even an object. Samsung’s face recognition technology identifies individuals across your gallery and groups them automatically, so searching for “Mom” pulls up every photo she appears in. Location data tags each image, letting you search “beach” or “Paris” to see relevant shots. Even vague terms like “dog” or “car” return accurate matches thanks to AI-driven object detection, making navigation effortless.
How to use the Suggestions tool for automatic cleanup
Your phone proactively helps reduce clutter by surfacing duplicate photos, blurry shots, and screenshots you may have forgotten about. The Suggestions tab in the Gallery app highlights these files and offers one-tap actions to delete or archive them. Over time, this feature learns your preferences and improves its accuracy. Acting on these prompts regularly prevents low-value images from overwhelming your library, preserving space and keeping your collection focused on high-quality, meaningful moments.
Creating automatic stories and highlights
The Gallery app automatically assembles your best photos into themed Smart Stories based on events, trips, or people. These dynamic slideshows combine images, videos, music, and transitions with no input required. You’ll see suggestions like “Summer Vacation” or “Birthday Party” appear in your feed, ready to view or share. If you approve, the phone refines future stories using your feedback. This feature ensures memorable moments are preserved creatively, without you lifting a finger.
Utilizing the My Files App for Advanced Sorting
The My Files app on your Samsung Galaxy unlocks powerful manual control over your photo organization, letting you decide exactly where images are stored and how they’re grouped. You can sort by date, file type, or custom folder structures instead of relying solely on auto-generated albums. For deeper functionality, explore 13 Things You Didn’t Know You Can Do in the Samsung … to uncover hidden features that enhance your workflow. This level of precision ensures duplicates, screenshots, and important memories don’t mix.
- Create dedicated folders like “Family,” “Travel,” or “Receipts” for clear separation
- Rename image files with meaningful labels instead of default codes
- Sort files by size or date modified to quickly locate large batches
- Delete or move unwanted media directly without opening the Gallery app
- Use the search function within My Files to find specific photos by filename
| Feature | Benefit |
|---|---|
| Manual folder creation | Full control over storage locations and naming |
| File sorting options | Quick access based on date, size, or type |
| Bulk selection and move | Saves time when reorganizing large photo sets |
Moving media to SD cards or external drives
Transferring photos to an SD card or USB drive frees up internal storage and protects your data from device failure. Open My Files, select the images or folders you want to move, then tap “Move” and choose your external destination. Make sure the drive is properly formatted and mounted before starting. Keeping originals off your phone reduces clutter and improves performance-especially helpful if you shoot in high resolution. Always verify the transfer completed before deleting anything from internal memory.
How to zip and archive old photo collections
Archiving older photos as ZIP files keeps them safe while minimizing space usage. In My Files, navigate to the folder containing the images, long-press to select them, then choose “Compress” to create a single .zip file. Rename it with a clear label like “Vacation_2022_Archive” for easy identification later. This method prevents accidental edits and groups related content securely. Stored archives can be moved to external storage or cloud backups for long-term preservation.
Managing hidden system image folders
Some apps generate hidden folders like .thumbnails or .cache that accumulate unnecessary image copies. These aren’t visible in Gallery but take up space and can cause confusion during cleanup. Use My Files with “Show hidden files” enabled to view and inspect these directories. Never delete system folders unless you’re certain of their contents-removing the wrong one could affect app functionality. Regular checks prevent invisible clutter from undermining your organized structure.
Establishing a Routine for Long-Term Organization
Maintaining a clean photo library hinges on consistent habits, not one-time fixes. Deleting unwanted shots the moment they’re identified stops clutter from multiplying over time. Waiting weeks or months turns a simple task into an overwhelming chore. A steady rhythm of small, frequent cleanups keeps your gallery manageable and ensures only meaningful images remain. Over time, this discipline pays off in faster searches, better backups, and a noticeably leaner photo library that reflects your life-not every accidental tap or blurry test shot.
Tips for a weekly “five-minute purge”
Set aside just five minutes each week to scan recent photos and remove obvious rejects. This brief session prevents buildup and reinforces good digital hygiene. Use Samsung Gallery’s selection tools to quickly highlight duplicates, blurry images, or failed screenshots. Keep your focus narrow-only delete what’s clearly unnecessary. Consistency here is more valuable than perfection.
- Review only the last 7 days’ photo uploads
- Delete dark, shaky, or duplicate shots immediately
- Use two-finger tap to select multiple unwanted images
- Limit yourself to five minutes to maintain sustainable effort
How to review and delete trash bin contents
Your device’s trash bin holds deleted photos for up to 30 days, quietly consuming storage space. After your weekly purge, check the bin to permanently erase its contents and free up room. Open Samsung Gallery, go to trash settings, and confirm permanent deletion. Skipping this step creates a false sense of progress while files linger behind the scenes. Make it a habit to empty the bin monthly-especially after major cleanups. This final action ensures your efforts result in real, lasting storage relief.
Factors for maintaining a lean photo library
Lasting organization depends on daily awareness and intentional choices. Every photo you take adds weight to your system, so be selective at the moment of capture. Regularly assess whether images serve a purpose-sentimental, practical, or creative. Avoid keeping ten similar selfies just because they exist. Smaller libraries sync faster, load instantly, and reduce stress during device transfers.
- Only save photos with clear personal value
- Limit burst shots by using manual capture more often
- Turn off automatic screenshot saving when possible
- Enable cloud auto-backup to reduce local clutter
Final Words
You now have the tools to keep your Samsung Galaxy photo library orderly and accessible. By using albums, AI-powered search, cloud backups, and regular cleanup habits, you prevent chaos before it starts. Your phone’s built-in features are more than capable when used consistently. Think of organization as an ongoing habit, not a one-time fix. Over time, tagging, sorting, and archiving become second nature, ensuring every photo you take stays easy to find and enjoy.
FAQ
Q: How do I start organizing thousands of unsorted photos on my Samsung Galaxy?
A: Begin by opening the Google Photos app or Samsung Gallery, depending on your preferred platform. Use the ‘Free up space’ option in Google Photos to remove duplicates already backed up to the cloud. Sort by date to identify clusters from specific events or trips. Create a few broad albums like “Family 2023,” “Vacation Hawaii,” or “Work Projects” and drag photos into them using the multi-select tool. This method breaks down the task into manageable chunks instead of trying to sort every photo at once.
Q: Can I organize photos without uploading them to the cloud?
A: Yes, you can manage everything locally using the Samsung Gallery app. Navigate to the Albums tab, tap the ‘+’ icon to create new albums, and add photos directly from your device storage. Disable auto-backup in Google Photos if you prefer not to store images online. Keep in mind that local-only storage means losing your phone could mean losing your photos unless you manually back them to a computer or external drive.
Q: What’s the best way to find specific photos quickly on a Galaxy phone?
A: Use Samsung’s built-in AI search in the Gallery app. Type descriptive terms like “dog,” “beach,” “sunset,” or even “food” in the search bar. The system recognizes objects, locations, and text within images. For example, searching “receipt” may pull up scanned documents or grocery slips. You can also filter by date ranges, people (if faces are tagged), or file type such as videos or screenshots.
Q: How often should I clean up my photo library to keep it organized?
A: Set a monthly reminder to review recent downloads and camera captures. Spend 15-20 minutes deleting blurry shots, duplicate screenshots, or outdated memes saved accidentally. After each major event-like birthdays or travel-immediately create an album and move relevant media into it. A mid-sized SaaS firm employee might spend their lunch break organizing a weekend trip’s photos before they get buried under new content.
Q: Can I use the My Files app to sort photos by file type or size?
A: Open the My Files app, go to the Device Storage section, then tap DCIM > Camera. Here, you can sort files by size, date modified, or file name. Tap the three-dot menu and select “Sort by” to locate large video files slowing down your gallery. Move older folders to an SD card or rename batches with dates (e.g., “2023-06-Family-Reunion”) for easier tracking. This level of control complements the visual browsing in Gallery with precise file-level management.