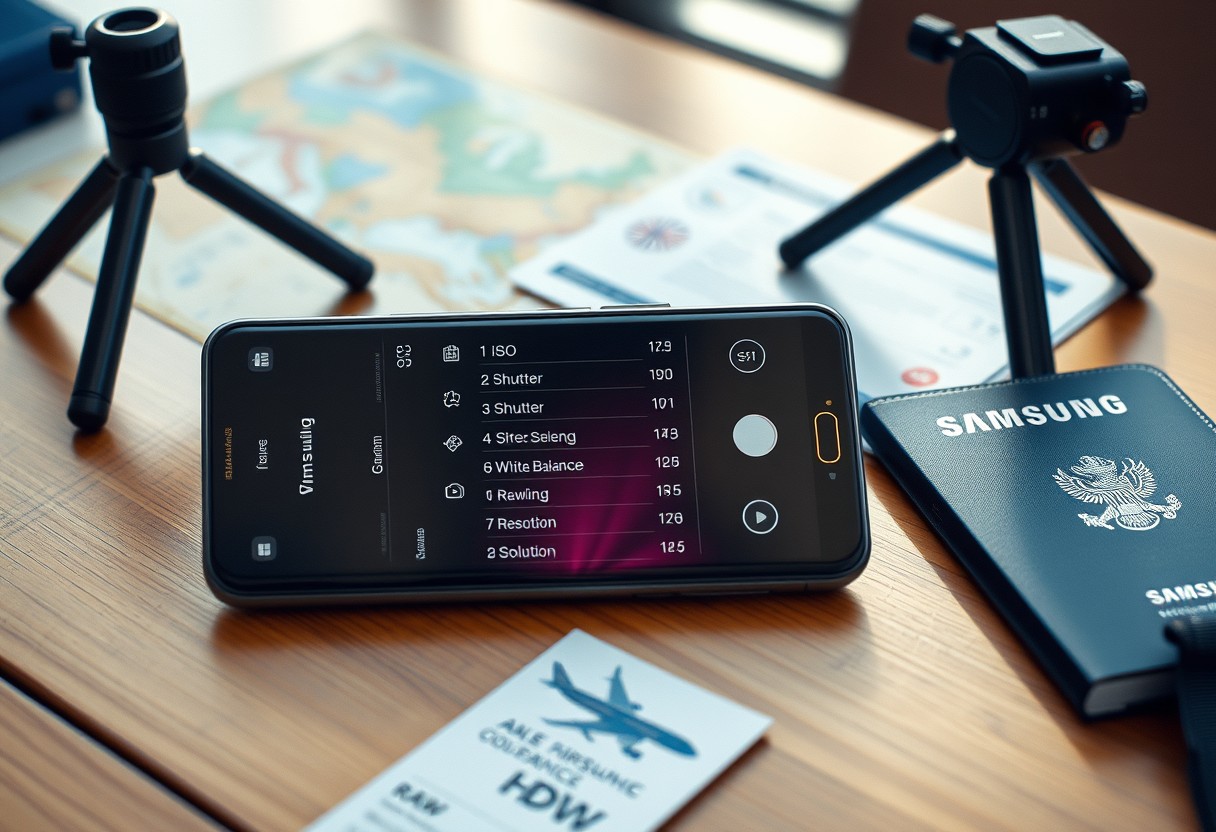
Before you snap your next sunset or street market, know that your Samsung Galaxy camera defaults may be sacrificing image quality or filling storage too fast. You can take sharper, more vibrant photos by adjusting resolution, format, and stabilization. A few changes ensure you capture more and lose less-especially when moments happen fast and storage runs low.

Key Takeaways:
- Samsung’s High Efficiency Image (HEIF) format saves storage space without sacrificing quality, but switching to JPEG can improve compatibility with older devices and photo printing services.
- Adjusting the aspect ratio to 9:16 or 16:9 before shooting video ensures better framing for social media platforms and widescreen playback.
- Enabling Grid Lines in Camera Settings helps apply classic composition rules like the rule of thirds, leading to more balanced and engaging travel photos.
The Storage Hustle: High Efficiency Formats
Choosing the right file format directly impacts how many shots you can keep on your Samsung Galaxy before needing to offload. By default, your phone may save photos in HEIF (High Efficiency Image Format), which uses half the space of traditional JPEGs without visible quality loss. You’ll find this setting under Camera > Settings > Save Options > Photo format. Switching to HEIF is a smart move for travel, especially if you shoot frequently or rely on cloud syncing over spotty connections. Just confirm your editing apps support HEIF-older software might not recognize it, creating potential workflow hiccups. For maximum compatibility, stick with JPEG when sharing directly from your phone.
Framing the World: Resolution and Aspect Ratio
Your camera captures more than moments-it records decisions. Set the resolution too low and you lose detail; too high and you drain storage unnecessarily. Most Samsung Galaxy phones default to a high-resolution 4:3 aspect ratio, which suits general photography. However, if you plan to share directly to social platforms like Instagram or shoot cinematic video, switching to 16:9 or even 21:9 can dramatically improve framing. For travel photography where cropping or printing might be needed later, sticking with the highest available resolution gives you flexibility during editing. Consider lowering resolution only when traveling light and storage is limited.
Smooth Moves: Motion and Stabilization
Shaky footage can ruin otherwise stunning travel clips, especially when walking or filming in motion. Your Galaxy phone’s AI-powered stabilization is designed to counteract movement, but it defaults to a moderate setting that may not catch fast action. Switch to “High” stabilization mode in the camera settings for noticeably smoother results during hikes, rides, or crowded street scenes. This setting works best with the main or ultra-wide lens, though it slightly crops the frame. Keep it enabled when filming moving subjects, but disable it for static scenes to preserve the full field of view.
The Geometry of the Street: Compositional Aids
Street photography thrives on structure, and your Samsung Galaxy’s built-in compositional tools can dramatically improve how you frame spontaneous moments. Enable Grid Lines in the camera settings to apply the rule of thirds, guiding eye-level alignment and subject placement with precision. For urban scenes rich in lines and symmetry, turn on the Level feature to keep horizons straight-even slight tilts become obvious in architectural shots. Some models offer customizable grid overlays like Diagonal or Golden Ratio for more dynamic arrangements. These aids stay visible while shooting, helping you anticipate movement within geometrically strong environments without breaking focus.
The Raw Truth: Advanced Pro Controls
Unlocking Full Creative Control
Mastering the Pro mode on your Samsung Galaxy gives you direct influence over exposure, focus, and color grading in real time. You’re not just snapping photos-you’re shaping them. Switching to manual focus prevents unwanted shifts when shooting through glass or in low light. Use custom white balance to preserve accurate tones in mixed lighting, especially during golden hour or under city lights. For maximum flexibility in editing, enable RAW capture so you retain every detail the sensor records.
- Tap the Pro icon in the camera app to access advanced settings
- Adjust ISO, shutter speed, and white balance using on-screen sliders
- Enable RAW+JPEG to save both processed and editable files
- Use the focus peaking feature to identify sharp areas visually
- Lock exposure to maintain consistent brightness across shots
| Setting | Recommended Use |
|---|---|
| ISO | Keep between 50-200 in daylight; increase only when necessary to avoid noise |
| Shutter Speed | Use 1/500s or faster for action; 1/30s or slower for intentional motion blur |
| White Balance | Set manually using a gray card or neutral surface for color accuracy |
| Focus Mode | Switch to manual (MF) for macro shots or when autofocus hunts |
| File Format | Choose RAW+JPEG to balance immediate sharing and post-processing depth |
Quick Draws: Shooting Methods and Shortcuts
Speed often decides whether you capture a fleeting moment or miss it entirely. Enable Quick Launch Camera so a double-press of the power button instantly opens the camera, even from sleep mode. Use Volume Key as Shutter to stabilize your grip and reduce shake when shooting one-handed. For spontaneous shots, swipe up from the lock screen instead of unlocking first. Assign shortcuts to the camera mode wheel so you can jump straight to Pro, Night, or Portrait without navigating menus. These small changes add up to faster, more reliable shooting in real-world conditions.
To wrap up
You now have the tools to get more from your Samsung Galaxy camera before your next journey. Adjusting settings like photo resolution, aspect ratio, and file format directly impacts the quality and flexibility of your shots. Switching to Pro mode unlocks manual control over exposure and white balance, giving you consistency across changing lighting conditions. Enabling grid lines improves composition, while tweaking storage to HEIF saves space without sacrificing detail. For more ways to sharpen your technique, explore 8 Tips To Improve Your Mobile Photography And Take Your Smartphone Seriously to build confidence in capturing travel moments with precision.
FAQ
Q: Should I switch to High Efficiency image format before traveling?
A: Yes, enabling High Efficiency (HEIF) for photos saves noticeable storage space without visible quality loss. Samsung Galaxy phones use HEIF by default in some models, but it’s worth checking under Camera Settings > Storage format. Files are smaller because HEIF compresses data smarter than JPEG, letting you take more photos on long trips. Just confirm your editing apps support .HEIC files before relying on it.
Q: What resolution should I use for travel photography?
A: For most travel shots, 12MP is more than enough and keeps file sizes manageable. Samsung’s main sensors use pixel binning to produce 12MP default images, combining data from larger 50MP or 108MP sensors. If you plan to crop heavily or print large, switch to full resolution in Pro mode. Otherwise, 12MP maintains quality while saving storage and speeding up sharing.
Q: How do I reduce blurry photos when walking and shooting?
A: Turn on Super Steady mode for video when moving, or use the stabilization toggle in Pro video settings. For photos, increase the ISO manually in low light to allow faster shutter speeds, or tap to enable Auto ISO in Pro mode. Holding the volume keys or using a Bluetooth shutter helps minimize shake. Avoid zooming optically beyond 2x in dim conditions, as it reduces light intake and increases blur risk.
Q: Can I use grid lines and level tools effectively in tight spaces?
A: Grid overlays (3×3 or golden ratio) help balance compositions quickly, especially in crowded markets or narrow alleys. Enable them in Settings > Viewfinder grid. The built-in level helps keep horizons straight in landscape shots. In tight indoor spaces or when shooting architecture, the level prevents unintentional tilts that distract from the subject.
Q: Is it worth shooting in RAW with the Pro mode on vacation?
A: Shooting in RAW gives full control over light, color, and shadows during editing, useful for dramatic skies or high-contrast scenes. Enable it in Pro mode when capturing sunsets, cityscapes, or interiors. Be aware that RAW files take up 20-30MB each, so carry a backup drive or cloud access. Most travelers mix JPEG for casual shots and RAW for key moments needing post-processing depth.