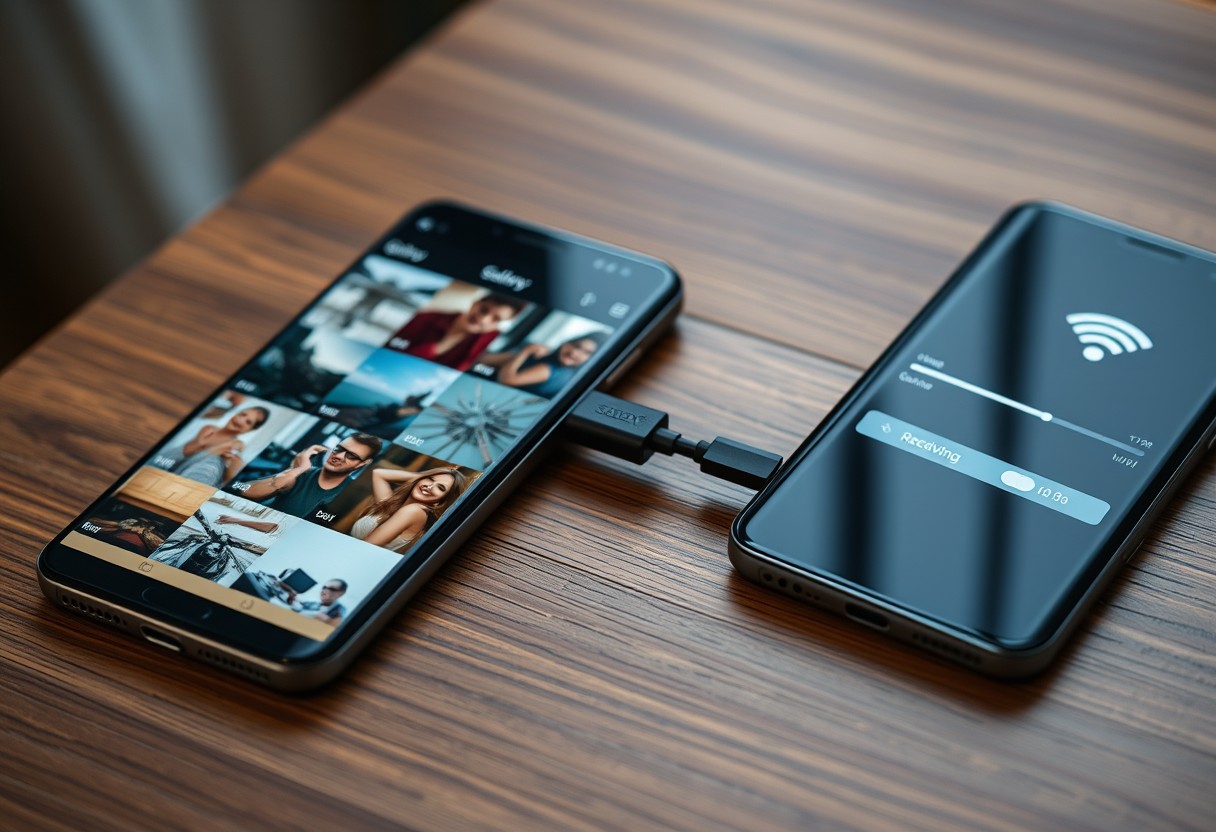
You can avoid cluttering your new Galaxy phone by transferring only the photos and videos you want. Selective transfer prevents data overload and protects your privacy. Using the wrong method may result in unwanted files or accidental overwrites. This guide shows you how to move exactly what you need-safely and efficiently-using trusted tools and smart workflows.
Key Takeaways:
- Selective transfers are possible using Samsung Smart Switch by unchecking unwanted photos and videos during the setup process, giving full control over what moves to the new device.
- Manual copying through a computer or external storage allows precise selection, especially useful when migrating only specific memories or large video files without syncing everything.
- Cloud services like Google Photos enable item-by-item restoration by signing in on the new phone and choosing which albums or folders to download, avoiding automatic full-library imports.
Essential Factors for Media Selection
Before transferring photos and videos to your new Galaxy phone, evaluate what can realistically fit and which files are compatible. Storage capacity varies across models, so exceeding available space can halt transfers or impair performance. Not all file formats are natively supported, with HEIC, certain MP4 codecs, or RAW image formats sometimes requiring conversion. Review both the total volume of selected media and their formats to avoid playback issues later. Choosing wisely now prevents frustration after migration.
- Check your new Galaxy’s available internal storage before selecting media
- Confirm compatibility with supported image formats like JPEG, PNG, and HEIF
- Verify video support for common codecs including H.264 and VP9
- Avoid transferring corrupted or duplicate files to save space
- Consider using a file manager app to preview file size and type in bulk
Evaluating device storage limits
Your new Galaxy phone’s usable storage is often less than advertised due to system software and pre-installed apps. Start by checking Settings > Storage to see how much space remains free. High-resolution photos and 4K videos consume hundreds of megabytes each, so even a few dozen can fill up remaining room. Overfilling storage slows down your device and may prevent camera use or app installations. Plan your transfer around available capacity, not just emotional attachment to content.
Identifying high-priority memories
Focus on preserving moments that matter most, such as family events, travel highlights, or irreplaceable personal milestones. These emotionally significant files deserve priority when space is limited. Sort by date, event name, or album to isolate key content quickly. Avoid carrying every screenshot or temporary clip-many have little long-term value. Selecting thoughtfully ensures your new phone holds what truly enriches your digital life.
How-to: Using Samsung Smart Switch for Custom Transfers
Establishing a secure connection
To begin, open the Smart Switch app on your new Galaxy phone and select “Wireless” to pair with your old device. Both phones must be connected to the same Wi-Fi network, and you’ll need to confirm the pairing code displayed on each screen. This step ensures no unauthorized device can access your data, protecting your photos and videos from unintended exposure. Keep both devices charged during this process, as interruptions may break the connection and require restarting the transfer.
Navigating the custom selection menu
Once the devices are linked, Smart Switch presents a content selection screen showing categories like Photos, Videos, Contacts, and more. Tap into “Photos and Videos” to reveal a grid view of all available media. You can now manually select individual items by tapping each thumbnail-only the files you choose will transfer, giving you full control over what moves to your new phone. After confirming your selections, start the transfer and wait for the progress bar to complete without closing the app.
How-to: Manual Migration via External Hardware
For complete control over which photos and videos move to your new Galaxy phone, transferring files manually through external hardware ensures precise selection and avoids unwanted duplicates. This method lets you review each file before transfer, making it ideal when migrating only specific memories or projects. You can use either a computer or a USB-C flash drive-both offer reliable performance and broad compatibility with Android devices. Choose this approach when you want full oversight and minimal automation.
Connecting to a Windows or Mac computer
Start by connecting your Galaxy phone to a Windows or Mac computer using a USB-C cable. Once linked, tap “File transfer” on your phone’s notification panel to grant access. Your device will appear as a portable drive on the computer, letting you open folders like DCIM or Pictures. Navigate to the exact photos and videos you want, then copy them to a designated folder on your computer. When ready, reverse the process to move only those selected files back to your new phone. This step gives you maximum control over every transferred item.
Using a USB-C flash drive for direct transfer
Insert a USB-C flash drive into your old Galaxy phone to begin a direct, cable-free transfer. Open the Files by Google or Samsung My Files app, locate your desired photos and videos, and select only the ones you wish to migrate. Copy them directly to the drive, safely eject it, then plug it into your new Galaxy phone. Access the files through the same file manager app and move them into your preferred gallery folders. This method eliminates reliance on internet connections and provides fast, physical control over your media selection.
How-to: Selective Syncing via Cloud Services
Use Google Photos or OneDrive to transfer only the media you want by selecting specific albums during sync. Open the app on your old device, sign in with your account, and ensure your chosen photos are uploaded. Then, on your new Galaxy phone, sign in and manually download only the albums you need, avoiding unnecessary clutter. For help with initial setup, visit the Just got a new Samsung phone, how do I transfer … community post for user-driven tips.
Configuring Google Photos selective backup
Open the Google Photos app on your previous phone and go to Settings > Backup. Tap “Back up & sync” and choose which folders or albums to include. Disable auto-backup for folders you don’t want transferred. Once active, only selected media will upload to your Google Account. On your Galaxy device, open Google Photos and download individual albums one at a time to maintain full control over what’s restored.
Downloading chosen media from Samsung Cloud
Sign in to your Samsung account on the new Galaxy phone and open the Samsung Cloud app. Navigate to the Photos section and review all available backups. Instead of restoring everything, tap “Select” and pick only the albums or dates you want. This method prevents automatic imports of unwanted content. Downloads occur over Wi-Fi by default, preserving data and battery while ensuring high-quality transfers.
Pro Tips for Optimizing Your New Gallery
To keep your gallery clutter-free and efficient, focus on removing duplicate files and organizing content into intuitive folders. Duplicate photos and videos take up valuable storage space and make navigation frustrating. Use built-in tools or trusted third-party apps to scan and identify repeated files, then review each set carefully before deletion to avoid losing meaningful moments. Group similar memories-like trips, events, or family gatherings-into labeled albums for faster access. A clean structure ensures you spend less time searching and more time enjoying your content.
- Duplicate files silently consume storage and degrade performance over time
- Built-in cleanup tools can detect redundant media without requiring technical skills
- Labeled albums improve accessibility, especially on larger libraries
- Always preview duplicates before deletion to protect irreplaceable moments
- Regular maintenance prevents overwhelming buildup after multiple transfers
Eliminating redundant screenshots and memes
Screenshots and meme images often accumulate quickly and rarely hold long-term value. You likely have dozens buried in your gallery that serve no purpose beyond a brief laugh. Sorting by date or type helps isolate these files efficiently. Delete batches selectively, keeping only those with personal relevance. This reduces clutter and improves scroll performance in your main feed. Clearing this low-priority content frees up space for what truly matters-your curated memories and important visuals.
Creating a logical album structure
Your new Galaxy phone performs best when media is grouped in a way that matches how you think and search. Start by creating broad categories like Travel, Family, Work Projects, or Pets, then add sub-albums if needed-for example, “Japan Trip 2024” under Travel. Naming conventions should be clear and consistent across entries. Albums synced with Google Photos or Samsung Cloud will remain accessible even after future transfers. A well-planned layout makes sharing easier and enhances overall usability from day one.
Factors Influencing Transfer Speed and Success
The speed and reliability of your media transfer depend heavily on network stability and the size of your selected files. An unstable connection can interrupt data flow, leading to incomplete transfers or corrupted videos. Large collections of high-resolution photos and 4K clips require consistent bandwidth and ample time. Using a strong Wi-Fi signal or a wired connection significantly improves performance. Be aware that background apps consuming network resources may slow down the process, so closing them helps maintain optimal transfer conditions.
- Stable Wi-Fi reduces interruptions during wireless transfers
- Wired connections offer faster, more reliable data movement
- Large file sizes, especially 4K videos, increase transfer time
- Network congestion from other devices affects transfer consistency
- High resolution means more data to move-plan accordingly
Impact of Wi-Fi vs. Wired connections
Wi-Fi offers convenience but introduces variables like signal strength and interference that can disrupt your transfer. A weak or fluctuating signal may cause timeouts, especially with large photo batches. In contrast, a USB-C to USB-C cable provides a direct, stable link between devices, minimizing errors and maximizing speed. You’ll typically see noticeably faster completion times with wired setups, particularly when moving hundreds of images. For the most dependable results, especially in crowded networks, wired remains the superior choice.
Managing large 4K video files
Transferring 4K videos demands extra attention due to their substantial size-each minute can consume over a gigabyte. These files are most sensitive to network drops and power interruptions, increasing the risk of partial transfers. To avoid issues, ensure both phones are fully charged or plugged in during the process. Consider transferring these clips in smaller batches rather than all at once. This reduces strain on the connection and allows you to monitor progress more effectively, ensuring every high-resolution memory arrives intact.
To wrap up
You now have multiple reliable ways to move only the photos and videos you want to your new Galaxy phone. Whether using Smart Switch with custom selection, transferring files manually through a computer or SD card, or syncing specific albums via Google Photos, you maintain full control over your media. Each method works effectively when matched to your storage setup and content volume. Taking time to organize and preview files beforehand prevents clutter on your new device. You can complete the transfer efficiently, keeping your gallery clean and personal.
FAQ
Q: Can I transfer only specific photos and videos from my old phone to a new Galaxy device?
A: Yes, you can transfer selected photos and videos using tools like Samsung Smart Switch with manual selection enabled, or by moving files through cloud services such as Google Photos or OneDrive. During setup in Smart Switch, choose the “Manual” option instead of “Auto” to pick individual albums or media files. This gives full control over what gets moved, avoiding bulk transfers of unwanted content.
Q: How do I select individual photos and videos when using Samsung Smart Switch?
A: Open Smart Switch on your current phone before starting the transfer process. Tap “Send data,” then select “Manual.” Choose “Photos” and “Videos” from the list of data types. The app displays albums and folders-tap each item you want to include. Deselect any folders containing media you don’t wish to move. Only checked items will be sent to your new Galaxy phone during the transfer.
Q: Is it possible to transfer selected media without using a cable?
A: Yes, wireless transfer of chosen photos and videos is supported via Wi-Fi Direct through Smart Switch or by syncing through cloud platforms. For example, upload specific albums to Google Photos on your old phone, then sign into the same account on your new Galaxy device and download only those albums. Another option is using Microsoft’s Your Phone app if linked to a Windows PC, allowing drag-and-drop of individual media files over a local network.
Q: What should I do if some selected videos fail to transfer?
A: Large video files may fail due to format incompatibility or insufficient storage on the receiving device. Check that your new Galaxy phone has enough free space before starting. If issues persist, try converting problematic videos to MP4 format using a free converter app or desktop software. Also ensure both devices maintain stable battery levels and uninterrupted Wi-Fi during the transfer, especially when using wireless methods.
Q: Can I preview photos and videos before they are transferred?
A: Smart Switch does not offer a built-in preview function for individual media during selection, but you can open the Gallery app on your old phone to review content beforehand. Alternatively, use Google Photos to create a temporary album with the images and videos you plan to move-this acts as a visual checklist. Once confirmed, sync that album to your new device and delete the temporary collection afterward.